


Today we will give a cottage into the character hands. Cottage made in the previous tutorial. It is understood that the object is already correctly imported and displayable in the Assest list. First you need to add a character to the panel. Than choose it’s position (in this example a posture 100):
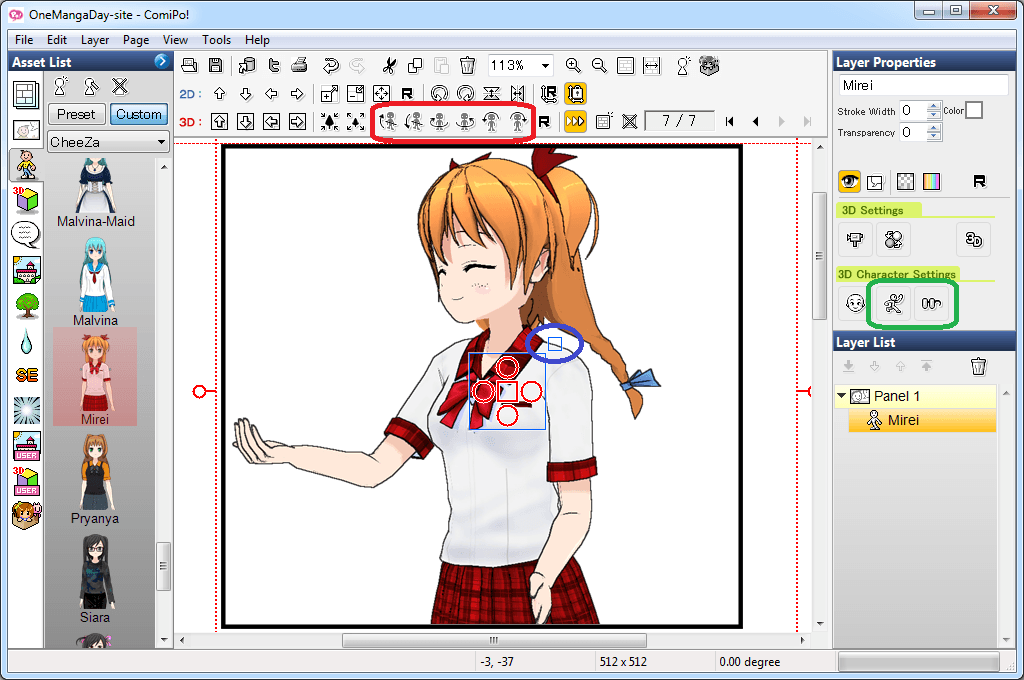
Rotation buttons (Alt+Up, Alt+Down, Alt+Left …) are shown by a red border, green frame isolated “Change Pose” and “Change Item” buttons. The blue-marked square controls the size (scale) of the character.
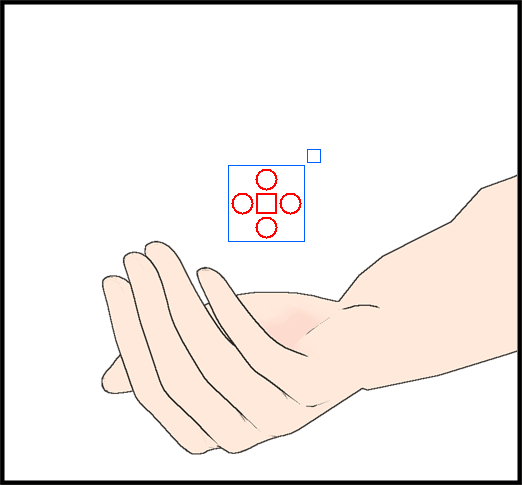
Next, scale and rotate the character so that the left hand is only visible, as in the picture:
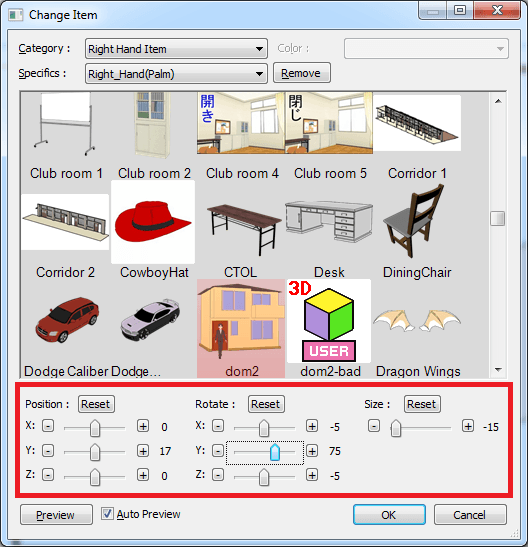
Add the house to the hand. To do this, press the “Change Item”(F12), in the first screenshot is highlighted in green. Next, choose the category “Right Hand Item”, specifics “Right_Hand(Palm)”:
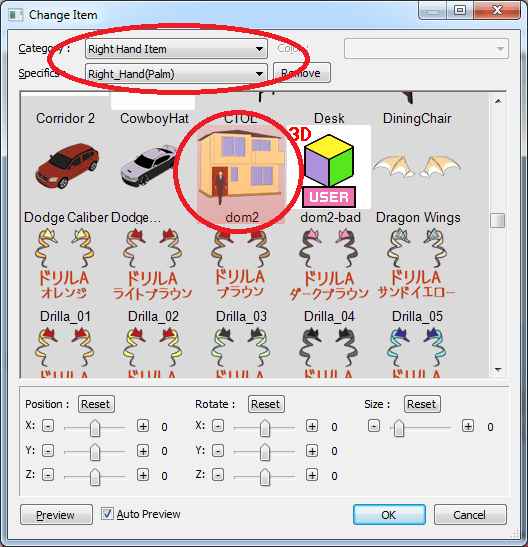
The specifics in this case refers to how the character will keep the subject: a fist or palm. In fact, these two options differ only in the anchor point.
The previous step can end up with something like this with high probability:
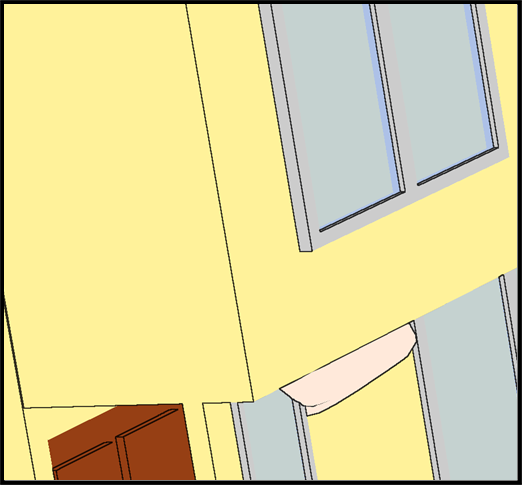
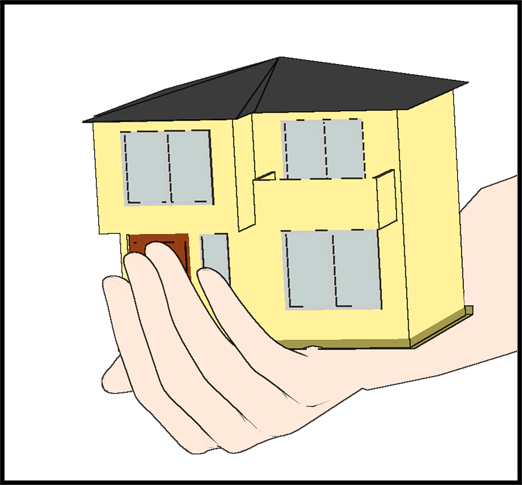
So, the reason is wrong settings of angle, position and size. Back in the window “Change Item”(F12), and play with the sliders. Changes are immediately displayed in Comipo in the main window. I get the following:
Now the house looks as it should be!
The object is attached to the character now. You can change the character’s position, size, position, but the house will stay with it:

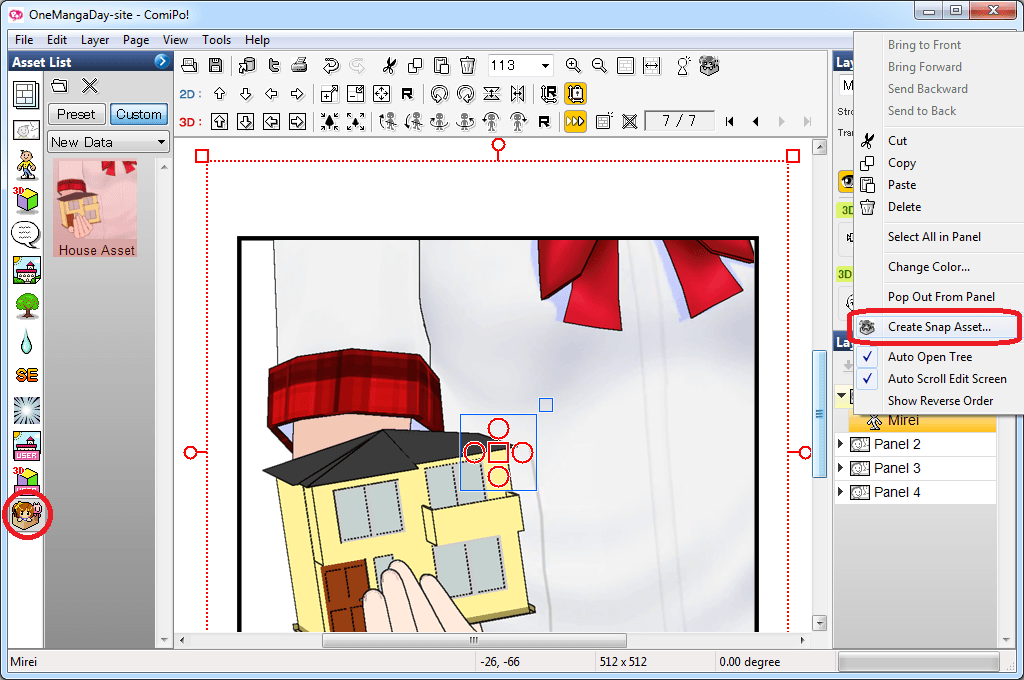
You can save you character with connected objects as User Asset. You can use “Create Snap Asset…“(S) from right-click menu:
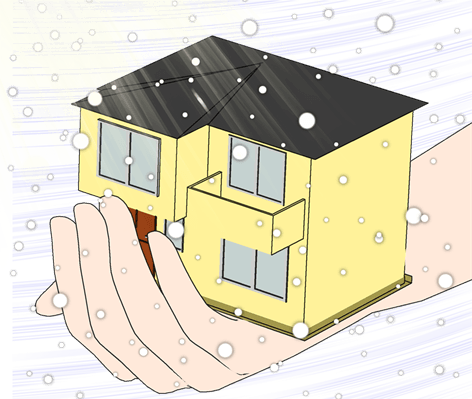
If you add a little effects from the “Image Item” tab, you can get the following picture:
Good luck in positioning!
Material tags  : Beginner, External 3D
