


Creating a website in Manga Maker Comipo is almost like creating it in Photoshop. That means the program is only responsible for creating the image of the future design. Everything else must be done in other programs and requires skills and knowledge of HTML and CSS.
Let's see an example shown below:
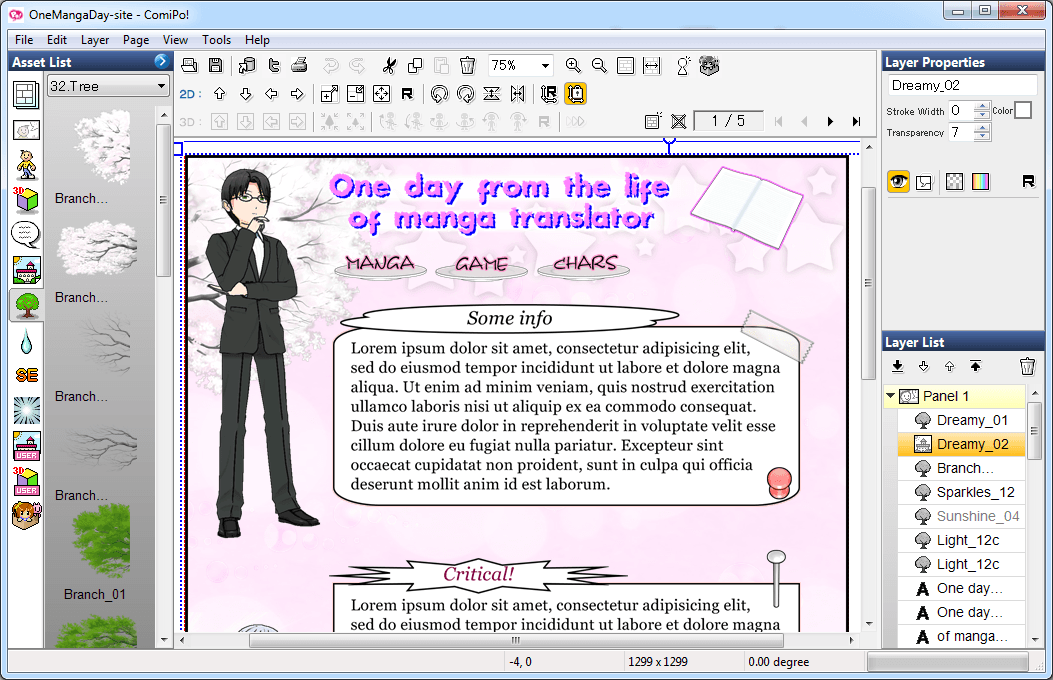
You can see "Layer List" panel. It already has a stack of layers. You just need to implement this stack in HTML! The most convenient way is exporting each layer as a separate image. Export can be accessed from the menu "File - Export Image File". Also you can press F2. Export options:
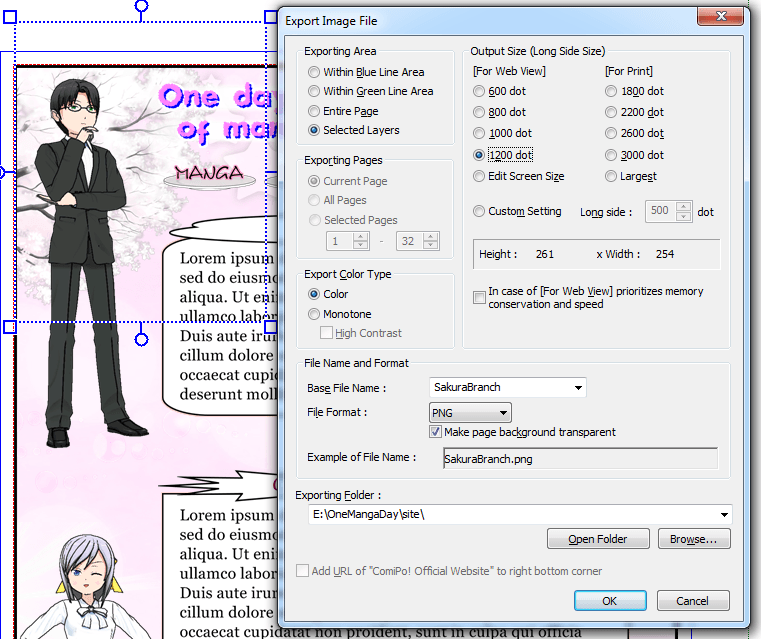
It is important to choose "Selected Layers" in "Exporting Area". If you need transparency, the format should be set to "PNG", and do not forget to check "Make page background transparent". It is also important to remember the value of "Output Size" - all the pictures should be exported in the same resolution.
Result:
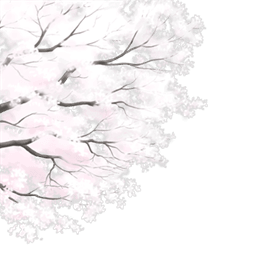
You can start writing code, when images are collected in one directory. For example, the cherry branch on top of the stars can be displayed by the following code:
<html>
<head>
<style type="text/css">
#starsDiv {
width: 100%;
min-height: 100%;
background: url("pic/Stars.png") repeat-x;
}
#sakuraDiv {
padding-left: 250px;
width: 100%;
min-height: 100%;
background: url("pic/SakuraBranch.png") no-repeat;
}
</style>
</head>
<body>
<div id="starsDiv">
<div id="sakuraDiv">
Hey! This is an HTML page example!
</div>
</div>
</body>
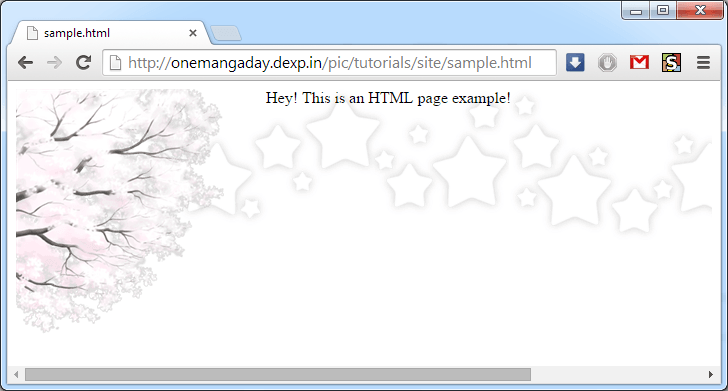
</html>You can see this example in your browser here. The result is shown below:
Further - a trick and HTML layout. Good luck in creating websites!
Return to Comipo tutorialsMaterial tags  : Middle level, Web
